


How to Get Back in Touch with past Real Estate Clients When You Haven’t Touched Base in a Long Time
When you’re in the middle of working with a client, you’re touching base with them constantly. You can actually get pretty close to them, and

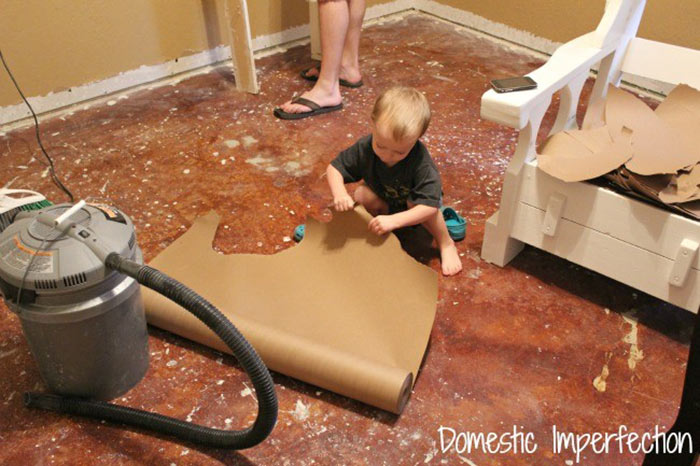
We all know there are many ways to improve the flooring in your house. We’ve covered wooden pallet flooring, cordwood flooring, and even 3D painted floors. Ashley, from Domestic Imperfection, has given the internet world an awesome DIY for making a type of flooring we have never seen before.
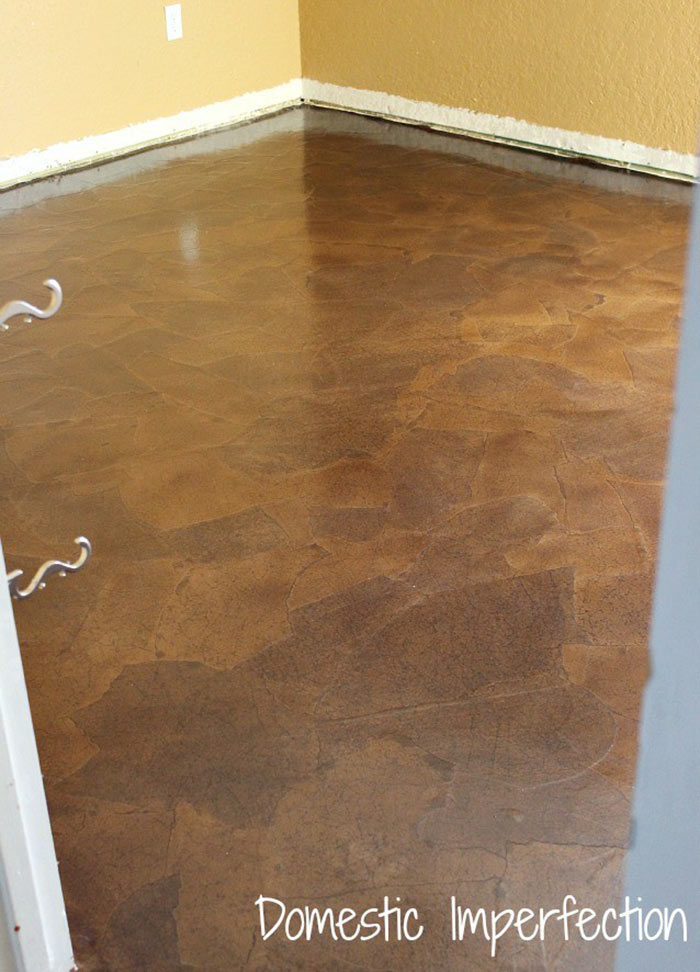
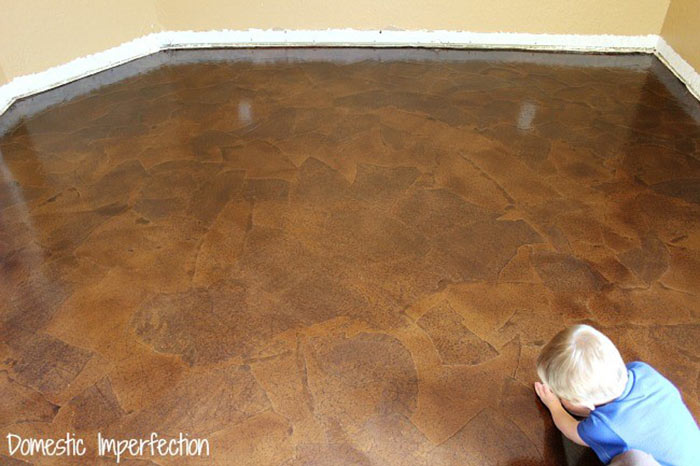
Best part is, she did the entire 10’ x 12’ room for only $80. How did she do it? She used the following materials:
It is a good idea to have a sander for any scratches, and filler to seal up any holes from carpet tacks.
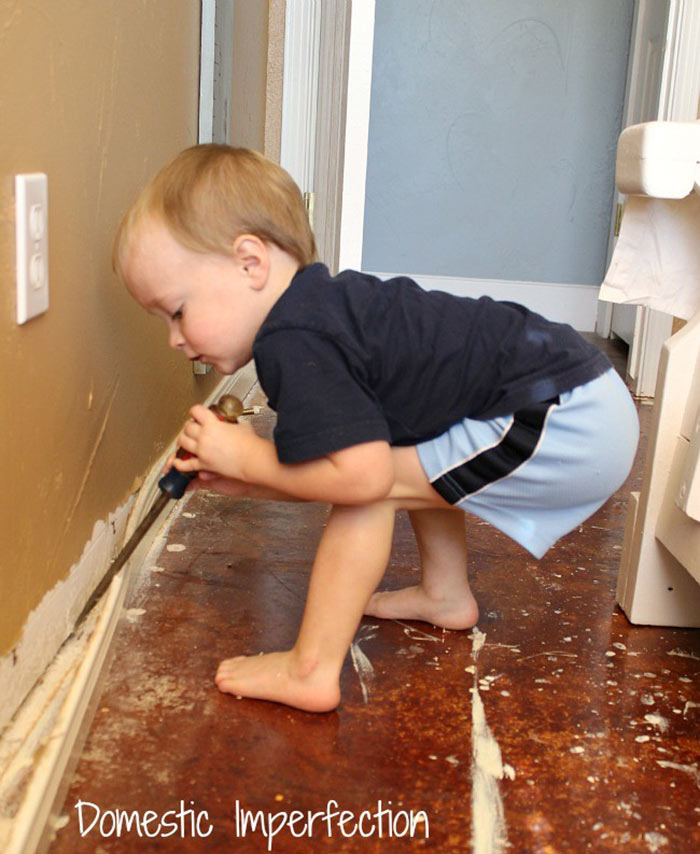
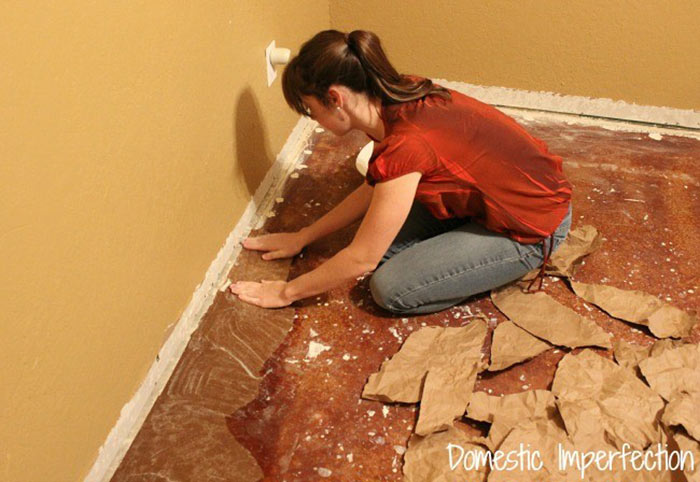
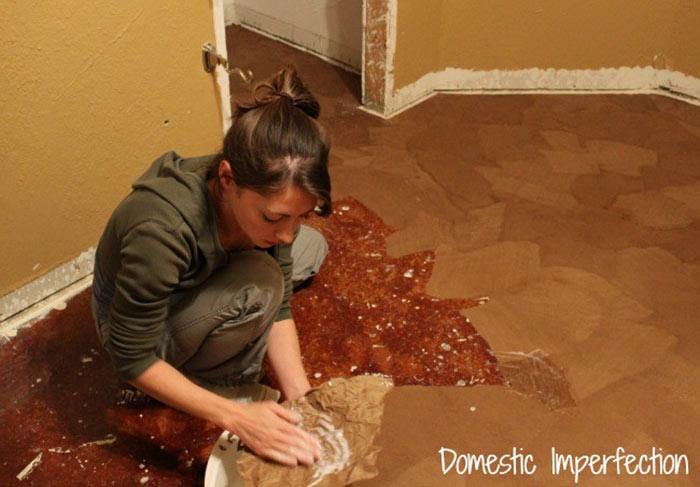
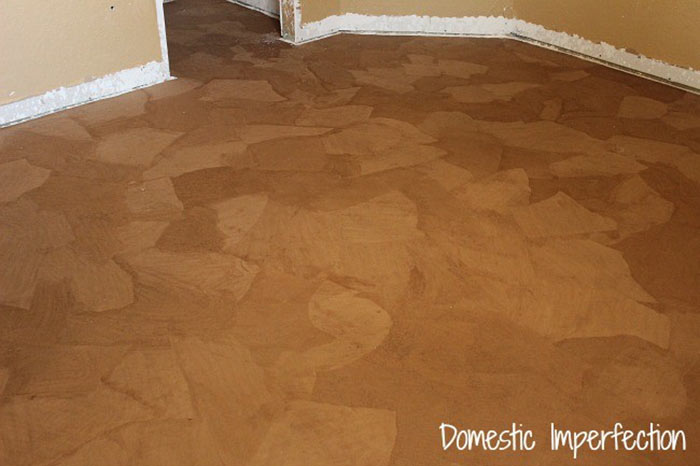
They chose to tear it randomly for a more organic shaping, similar to stone. Ashley and her son balled them up and straightened them back out to give them the stone like, textured effect.
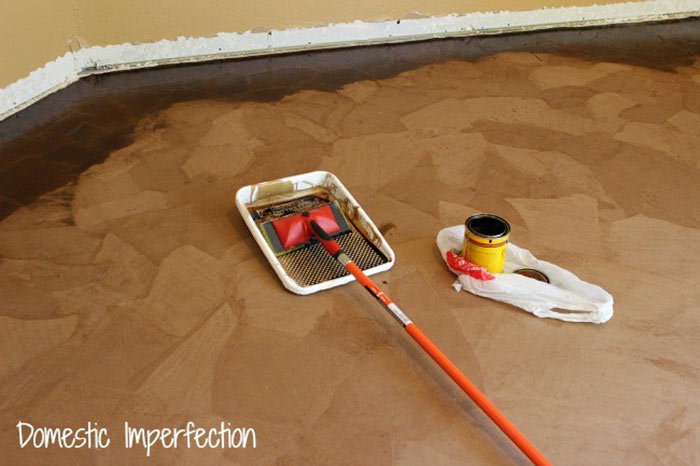
I bet the “project manager” loved this part. The mixture was 50% water and 50% Elmer’s glue.
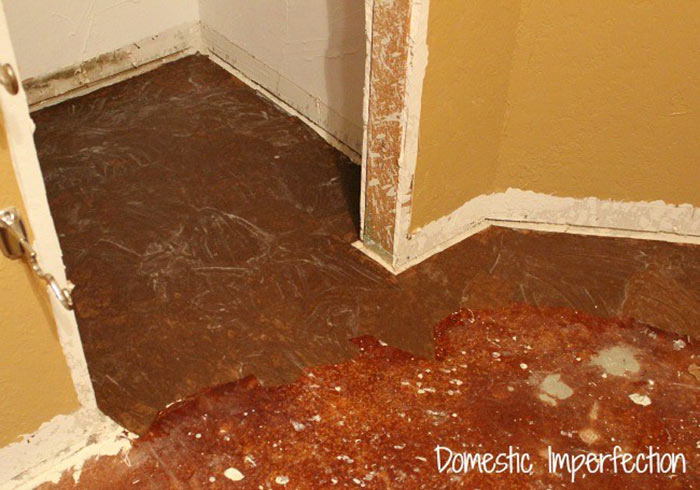
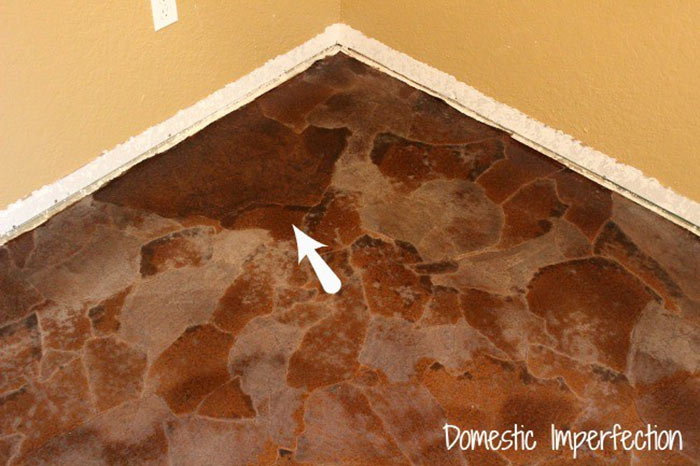
When they came back to check it, this was the result.To fix this, they added another layer of stain on top, and another layer of polyurethane.

For a further detailed account of this project, and an opportunity to ask Ashley questions about the process, check the DIY here.


When you’re in the middle of working with a client, you’re touching base with them constantly. You can actually get pretty close to them, and

Every agent needs a lead list. They are compilations of prospects you can reach out to when you are trying to drum up business. They

Fair Warning: This story isn’t exactly short. BUT… if you stick with me til the end, AND you’re a real estate agent, you’ll receive a

As the saying goes, you shouldn’t judge a book by its cover. But when you’re hiring a real estate agent, it can be easy to

Hello dearest real estate friend. Glad you could make it today. What I want to do here is simple – convince you to be yourself.

This reset password link has expired. Check the latest email sent to you.