Are You An Agent Whose Entire Brand Feels… Bleh?
Hello dearest real estate friend. Glad you could make it today. What I want to do here is simple – convince you to be yourself.


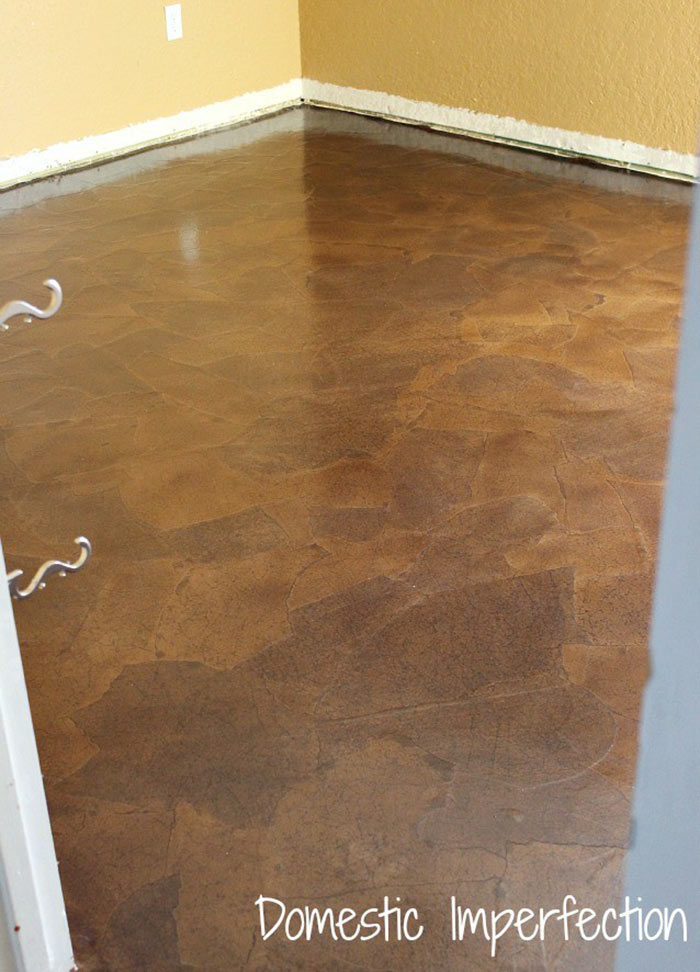
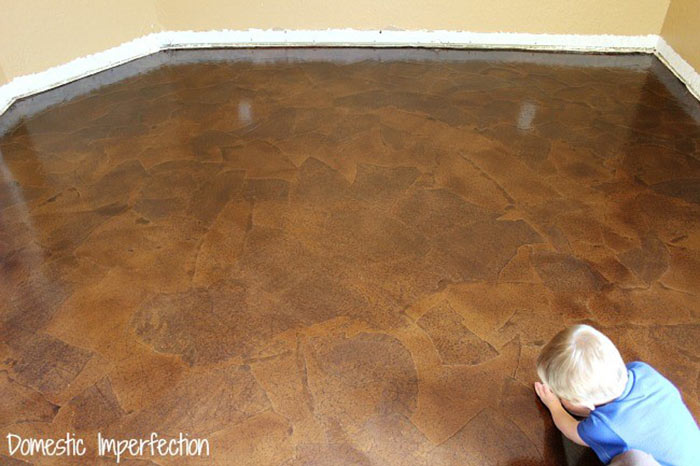
We all know there are many ways to improve the flooring in your house. We’ve covered wooden pallet flooring, cordwood flooring, and even 3D painted floors. Ashley, from Domestic Imperfection, has given the internet world an awesome DIY for making a type of flooring we have never seen before.
 Pin
PinBest part is, she did the entire 10’ x 12’ room for only $80. How did she do it? She used the following materials:
It is a good idea to have a sander for any scratches, and filler to seal up any holes from carpet tacks.
 Pin
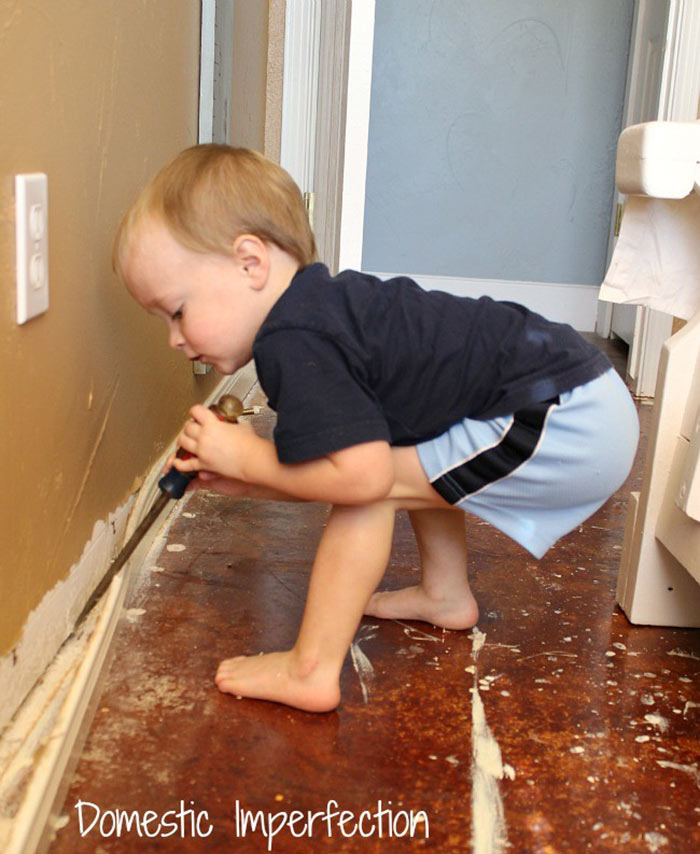
PinThey chose to tear it randomly for a more organic shaping, similar to stone. Ashley and her son balled them up and straightened them back out to give them the stone like, textured effect.
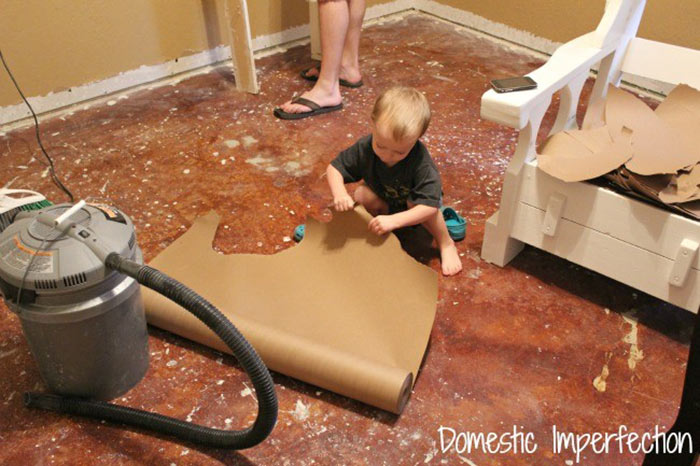 Pin
PinI bet the “project manager” loved this part. The mixture was 50% water and 50% Elmer’s glue.
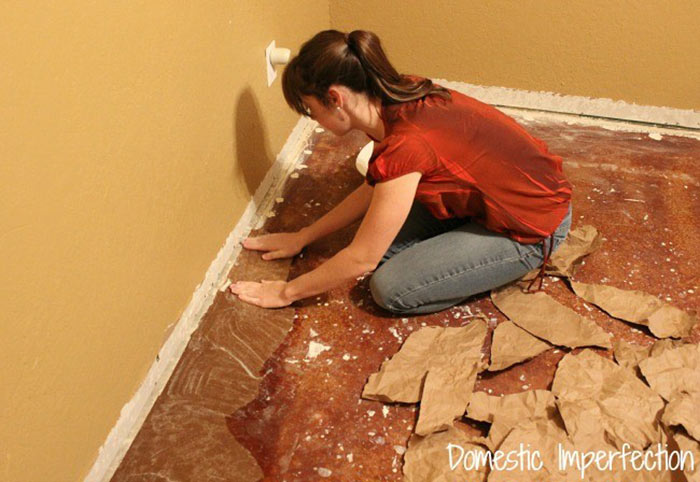 Pin
Pin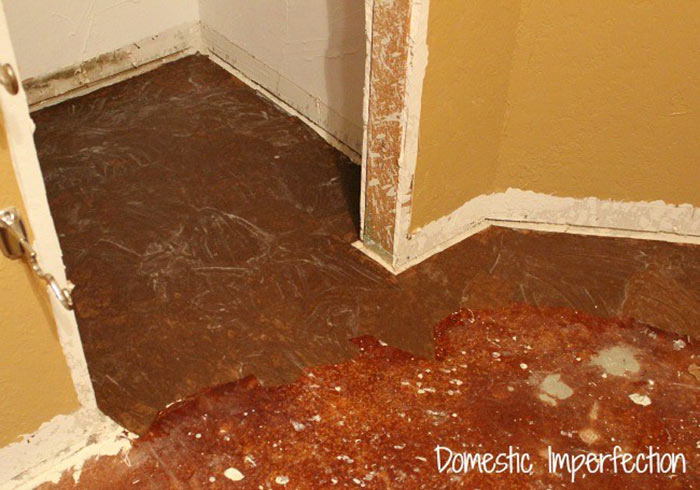 Pin
Pin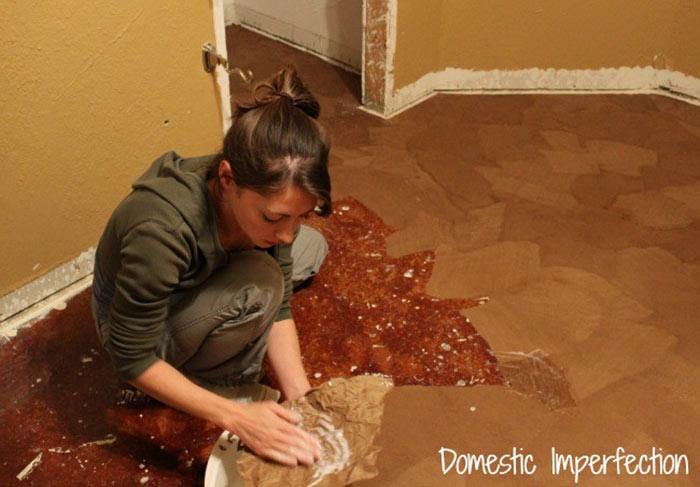 Pin
Pin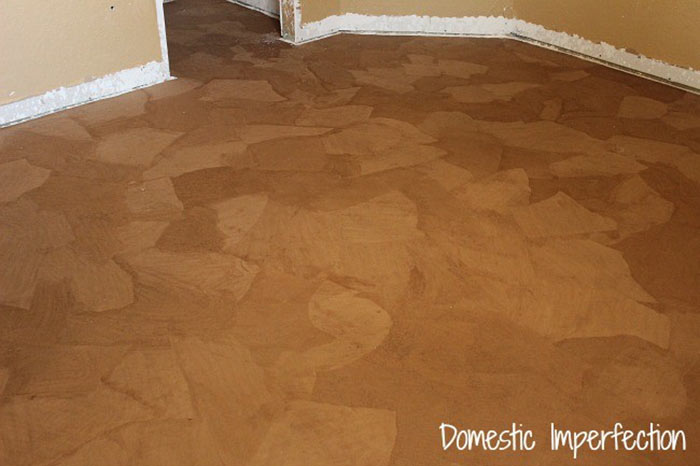 Pin
Pin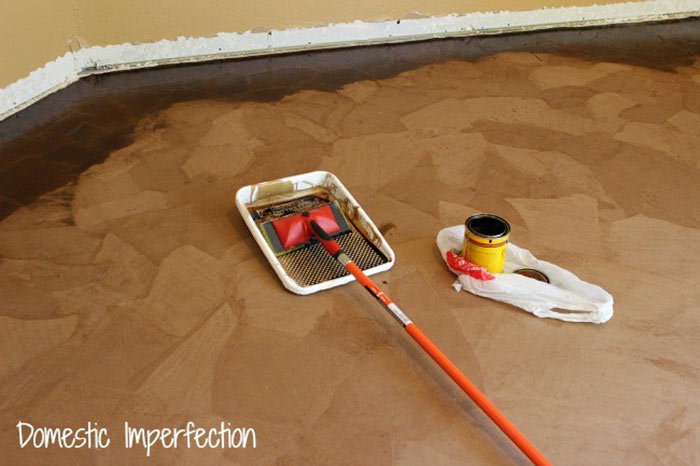 Pin
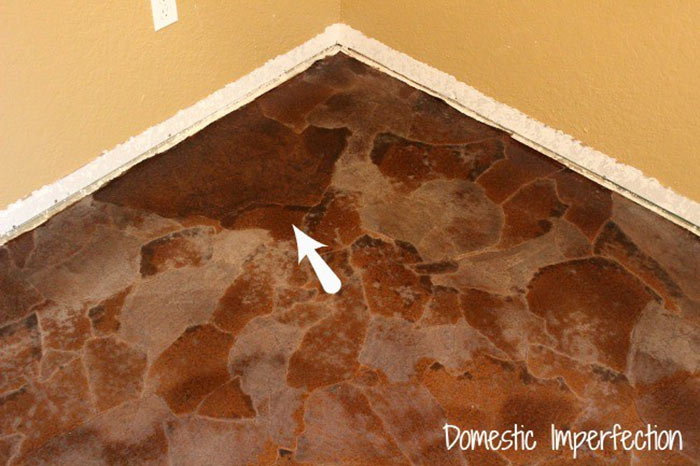
PinWhen they came back to check it, this was the result.To fix this, they added another layer of stain on top, and another layer of polyurethane.
 Pin
Pin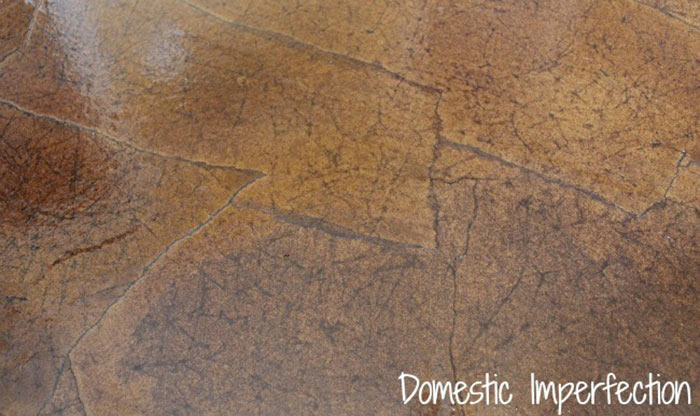 Pin
PinFor a further detailed account of this project, and an opportunity to ask Ashley questions about the process, check the DIY here.
 Pin
PinIf you liked this one, you’ll love this:

(Shh, our secret)
Show your sphere your an expert. We have over 2100 articles covering every real estate topic your audience will love.
Position yourself as a real estate authority!
Real estate + topical events — the perfect match!
Become the bearer of good vibes!
Because hey, everyone loves to laugh!


Get our weekly email that makes communicating with your sphere on social actually enjoyable. Stay informed and entertained, for free.

Hello dearest real estate friend. Glad you could make it today. What I want to do here is simple – convince you to be yourself.

When you’re starting or growing a real estate biz, it seems like everyone has advice. Some advice is good, like, “Share interesting content consistently!” Some
Whether you’re a real estate agent looking for that perfect closing gift for your client, or just someone wanting to create something unique, you’ll want

Customer Relationship Management (CRM) systems are a necessary evil for real estate agents. Ideally they’ll make your life easier, keep you organized, and help you

Via Big Stock Photo “Home is a shelter from storms—all sorts of storms.” — Political pundit William J. Bennett As I stand at what is probably
Depending on your situation, it may not take the full 30 minutes.

This reset password link has expired. Check the latest email sent to you.


