


Should You Join a Real Estate Team? Sure, as Long as You Do This!
At some point in their career, almost every agent either considers joining a team, or is asked to join one. It’s not the right move


At some point in their career, almost every agent either considers joining a team, or is asked to join one. It’s not the right move

Customer Relationship Management (CRM) systems are a necessary evil for real estate agents. Ideally they’ll make your life easier, keep you organized, and help you
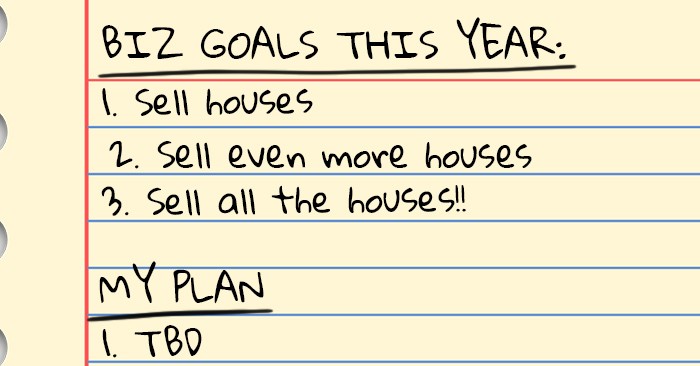
Raise your hand if you’ve at least mentally made a resolution to sell more houses in the coming year. Every year is a clean slate

Fair Warning: This story isn’t exactly short. BUT… if you stick with me til the end, AND you’re a real estate agent, you’ll receive a

As the saying goes, you shouldn’t judge a book by its cover. But when you’re hiring a real estate agent, it can be easy to
Depending on your situation, it may not take the full 30 minutes.

This reset password link has expired. Check the latest email sent to you.