


Real Estate Agents: Think Twice Before Signing Up for Automated Social Posting
Social media is a blessing and a curse for real estate agents. It has made it so much easier (and less costly) to stay in

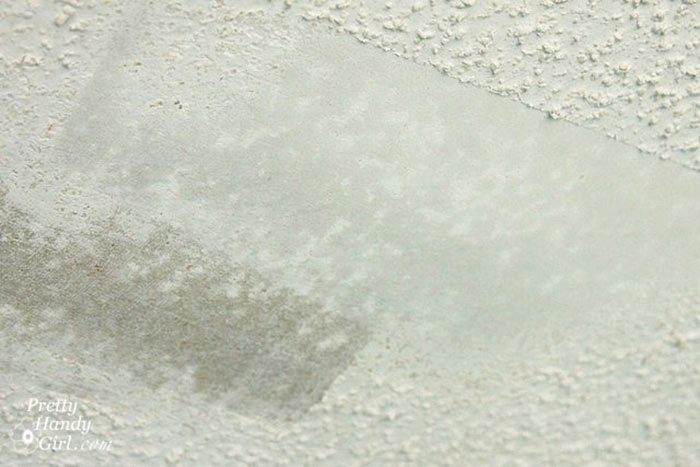
Popcorn ceilings must be one of the most useless inventions in the history of housing. It collects dust, is easily chipped off, and really doesn’t add much visual appeal. One has to wonder why anyone invented such a thing, or why it was ever the standard in so many homes.
Brittany Bailey of Pretty Handy Girl decided she had enough of that eyesore and cleaned up her own ceiling. She created this tutorial from her experience for the rest of us who are ready for a ceiling that makes sense. Best of all, she shows how to make cleanup easy.
IMPORTANT NOTE FROM BRITTANY: “If you live in a house that was built around 1978, take several small samples of your ceiling and test it for asbestos before you begin. Even though the cutoff date for asbestos in popcorn texture was 1978, the inventory could still be bought from store shelves well into the 1980’s. Do yourself and your family a favor, If you have asbestos popcorn contact a professional who is trained in asbestos removal to handle the job. If you want to learn more, you can read more about our experience with asbestos remediation.”
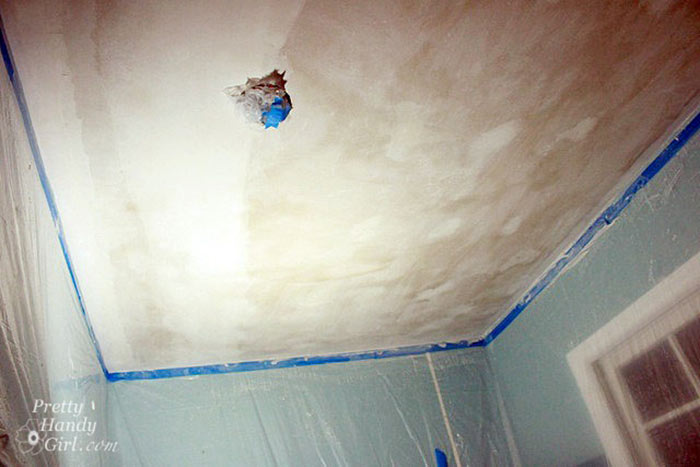
Place the wire nuts back on the exposed wires and cover the fixture box with a plastic and tape. Be sure to TURN THE LIGHTS OFF before doing this!
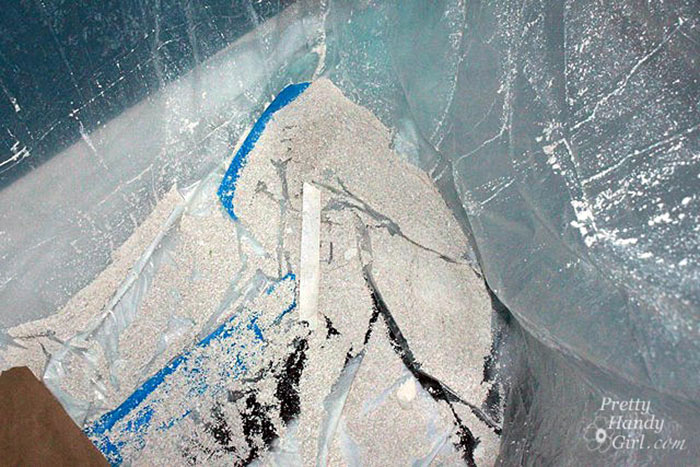
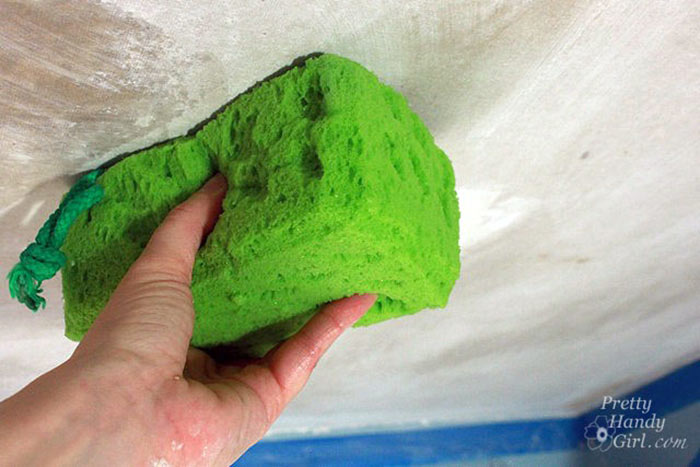
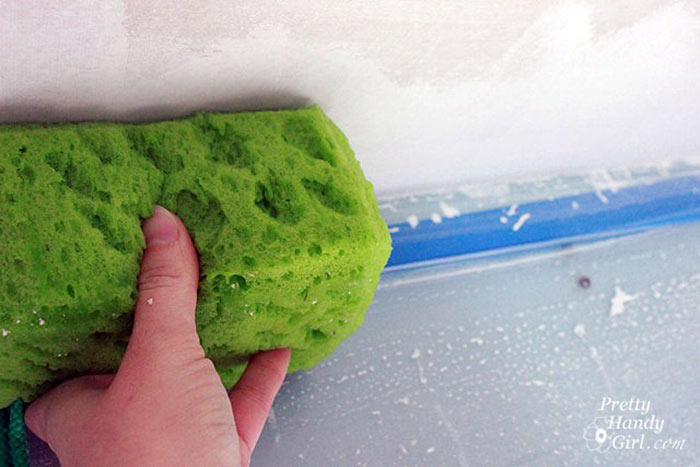
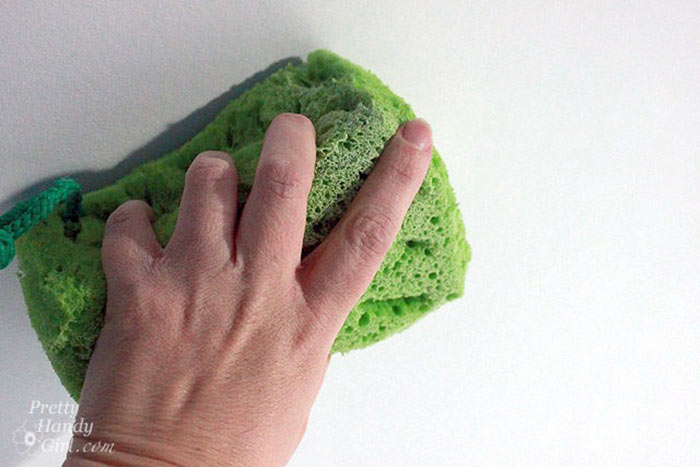
With the tarps, it’s a simple procedure to bag and toss the remnants. Be sure to tape the plastic off at the tippy top of the walls.
Wait 15 minutes and spray again. Wait another 10-15 minutes for the second soaking to settle in. Note: Be sure to make each coating a complete, yet light soaking. If the drywall paper is too wet, it will rip later on.
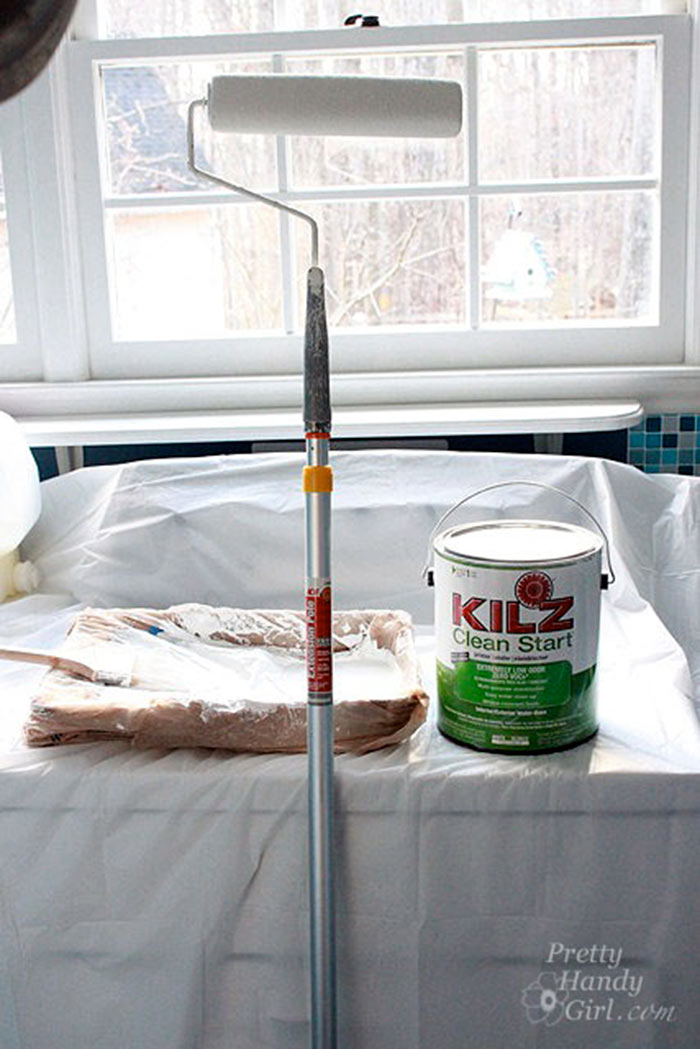
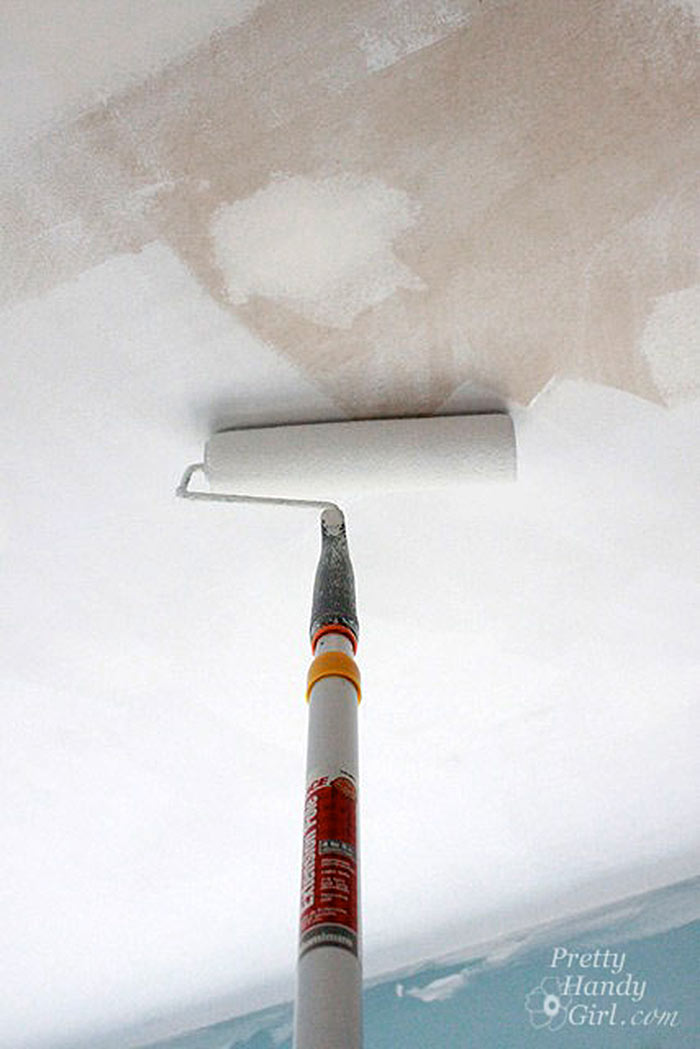
Here’s the sequence that Brittany Bailey laid out:
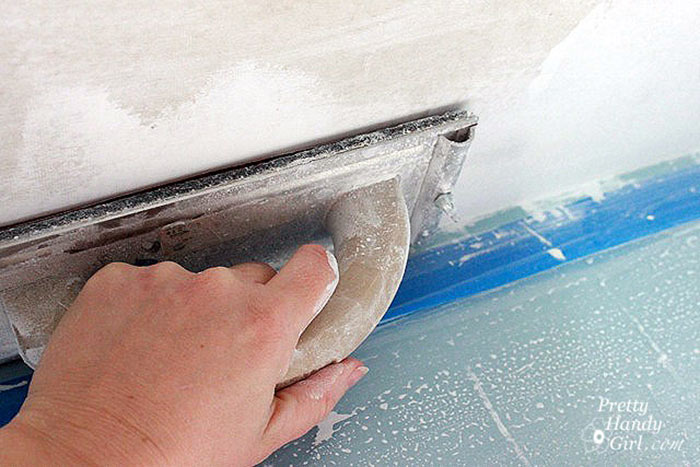
Holes and dents in the joint compound are no good and you will need to spread more onto the ceiling. It’s okay if you have some raised sections, they will sand down later.”


Social media is a blessing and a curse for real estate agents. It has made it so much easier (and less costly) to stay in

Real estate agents need help with social media. I know, because I used to be one who needed it. I’m Mike Bell. If you’re not

You’ve probably been told to build an email database and send them stuff consistently, right? Some agents do. Many don’t. Have you? If you haven’t,

At this point everyone knows not to fall for the email from a Nigerian prince promising to share his fortune with you if you just

It hits you like a ton of bricks the first time you hear it could take months (or even years) for a real estate lead
Depending on your situation, it may not take the full 30 minutes.

This reset password link has expired. Check the latest email sent to you.